Podcast Synchronization Over the Cloud
Published on August 23, 2024Setting up a podcast synchronization service on Google Cloud.
As a regular and avid podcast listener, I was looking for a solution to synchronize my subscriptions and episode status across several devices. On mobile, I use the excellent Antenna Podapp, while on desktop I rely on gPodder. Since the open-source synchronization server gPodder.netfrequently encounters status 500 errors, I decided to set up my own synchronization server using the lightweight, gPodder-compatible opodsync.
In this guide, I will describe how to set up opodsync on Google Cloud. Before starting, ensure you have a Google Cloud account and a domain name through which the synchronization server will be accessible.
Server
To get started, create a new virtual machine (VM) from the cloud dashboard. This option is also accessible through the resources tab or in the sidebar under “Compute Engine”. I used the small e2-micro instance which is sufficient for this task, and also has the advantage of being part of the free tier. As of this writing, the following configuration options are part of the free tier:
Configuration
- Region: us-central1
- Machine Configuration: E2
- Machine Type: e2-micro (2 vCPU, 1 Core, 1 GB memory)
- Availability policies: Standard
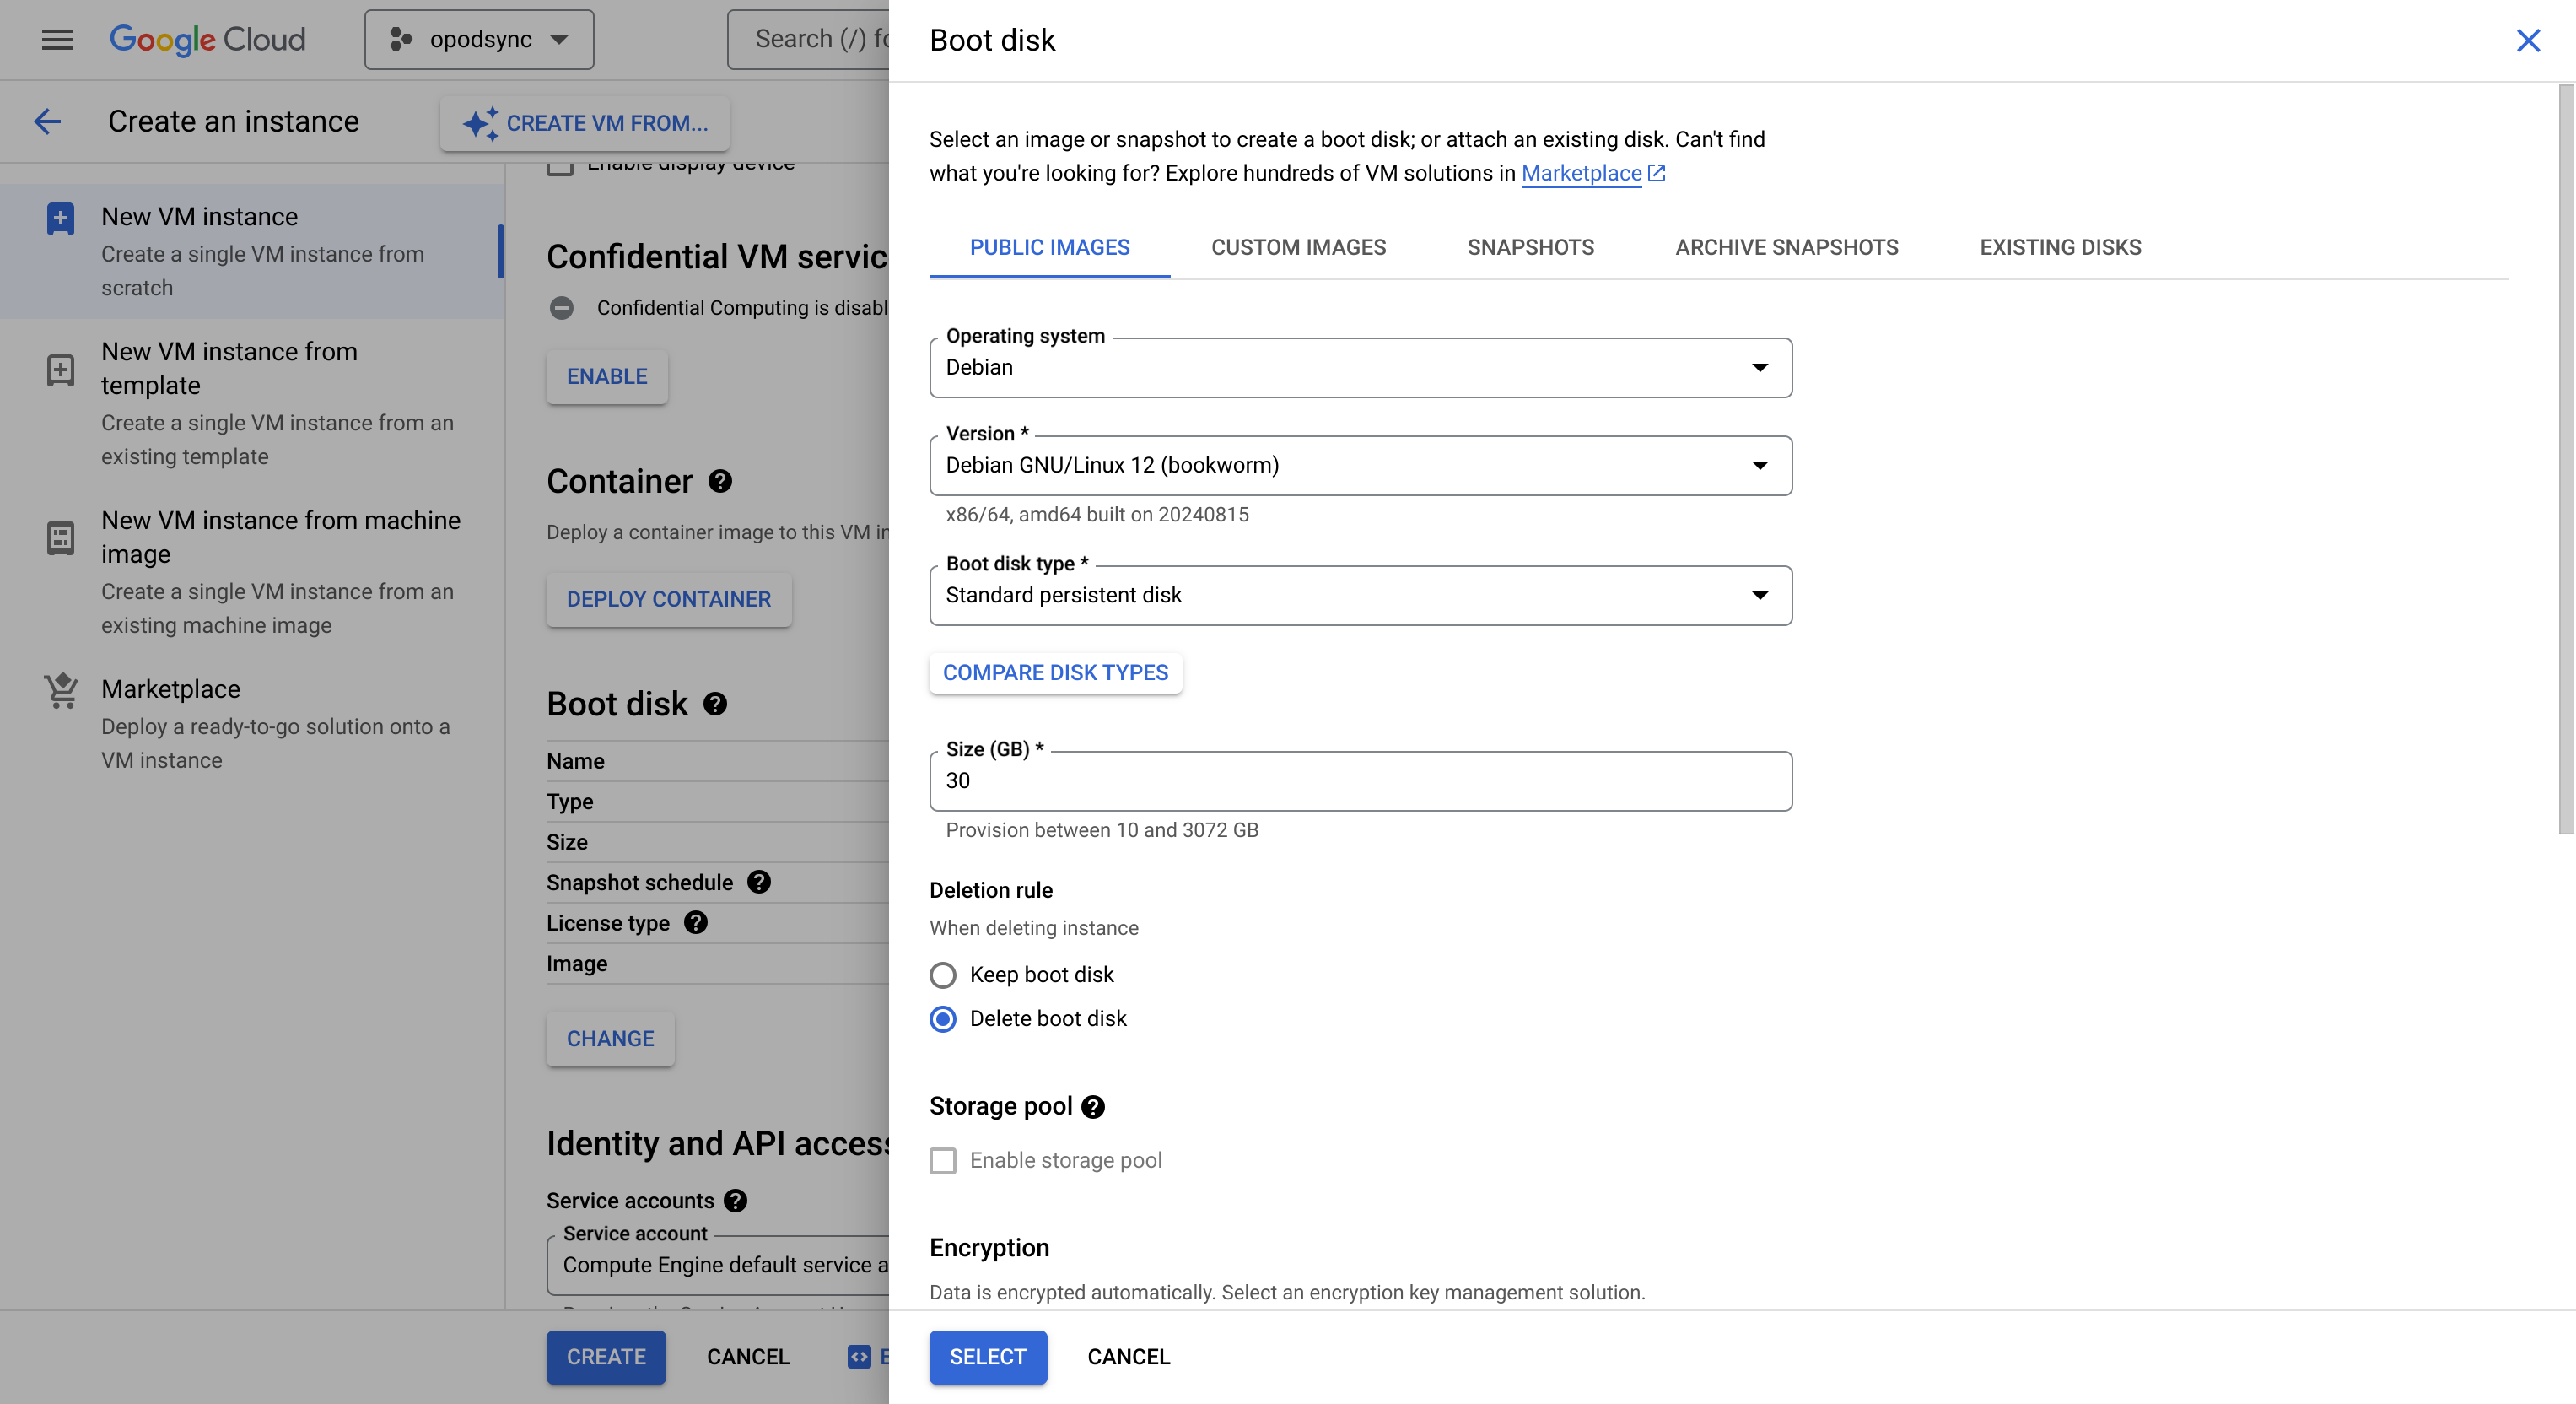
- Boot disk: 30 GB standard persistent disk, Debian (click “change” to adjust operating system & more)
- Network service tier: Standard
- Firewall: Allow HTTP & HTTPS traffic
More details and up-to-date configuration options can be found in the docs: https://cloud.google.com/free/docs/free-cloud-features#compute.
Note that a monthly estimate of costs (around 7 USD for the above configuration) will be shown, even if your selection is covered by the free tier.
Once the VM is created, connect to it through SSH to install the synchronization server. The easiest way to connect is through the web interface, which opens a terminal directly in your browser. To do this, go to the VM instance overview (found under “Compute Engine” in the sidebar) and click “SSH”.
As a first step, install the Apache server:
sudo apt update && sudo apt -y install apache2Check that Apache is running:
sudo systemctl status apache2At this point you can check that the server is reachable online. In the VM instances overview, copy the external IP. You should see the Apache default page when navigating to http://YOUR.EXTERNAL.IP.ADDRESS. Important: Make sure you are not trying to connect through HTTPS (this may be the default when clicking on the link), as HTTPS will be set up later.
Opodsync
Next, install php7.4 and a few other required dependencies:
sudo apt update && sudo apt -y install unzip
sudo apt install -y apt-transport-https lsb-release ca-certificates wget
sudo wget -O /etc/apt/trusted.gpg.d/php.gpg https://packages.sury.org/php/apt.gpg
echo "deb https://packages.sury.org/php/ $(lsb_release -sc) main" | sudo tee /etc/apt/sources.list.d/php.list
sudo apt install -y php7.4 php7.4-sqlite3 libapache2-mod-php7.4
Download the actual code and move it to /var/www/html, which is the default directory for Apache:
wget https://github.com/kd2org/opodsync/archive/refs/heads/main.zip
unzip main.zip -d opodsync
sudo rm /var/www/html/index.html
sudo mv opodsync/opodsync-main/server/* /var/www/html/
sudo chown -R www-data:www-data /var/www/html
sudo chmod -R 755 /var/www/html
You can also add custom configurations in /var/www/html/data/config.local.php, such as a different title. A configuration template and more detailed instructions can be found on the opodsync Github: https://github.com/kd2org/opodsync/blob/main/README.md#configuration
We will now configure the Apache server. In /etc/apache2/sites-available/ create the file opodsync.conf with the following content:
<VirtualHost \*:80>
    ServerName YOUR.CUSTOM.DOMAIN

    ServerAdmin webmaster@localhost
    DocumentRoot /var/www/html

    <Directory /var/www/html>
        AllowOverride All
    </Directory>

    ErrorLog ${APACHE_LOG_DIR}/error.log
    CustomLog ${APACHE_LOG_DIR}/access.log combined
</VirtualHost>
Replace YOUR.CUSTOM.DOMAIN with the domain name that will be configured below in the DNS section.
In /var/www/html/ create the file .htaccess with the following content:
# Make sure Authorization header is transmitted to PHP
SetEnvIf Authorization .+ HTTP_AUTHORIZATION=$0

RedirectMatch 404 inc/.*
RedirectMatch 404 data/.*

FallbackResource /index.php
Finally, enable the new configuration and restart the server:
sudo a2ensite opodsync.conf
sudo service apache2 restart
You should now be able to access the landing page, although redirects to the login and register pages won’t work until the custom domain is set up.
DNS
Before setting up HTTPS, make sure you can access the site through the chosen domain name. Add an A record pointing to the public IP address of your VM. This should match the ServerName in the Apache server configuration.
Once everything is set up, you should be able to access the server through your domain name and also access the login/register page.
TLS
Setting up HTTPS is straightforward using Let’s Encrypt. Just install certbot and follow the instructions. Cerbot will automatically configure the Apache server to properly redirect to HTTPS:
sudo apt-get install certbot python3-certbot-apache
sudo certbot --apache
Once this is done, restart the server:
sudo service apache2 restartYou should now be able to register your first user through the web interface. By default, opodsync will block further user registration, but this can be changed in the settings.
Podcast apps
The last step is to set up your podcast apps. In AntennaPod, navigate to Settings > Synchronization and use the custom domain name and your user credentials to log in. For gPodder, this option is available through Preferences > gpodder.net. Note that for gPodder you must use the “gPodder secret username” that is displayed when logging in to opodsync.
Happy synchronizing!